Last Updated on November 21, 2019 by admin
Update November 2019: Facebook has removed gray verification badges from Pages. The gray circle with a checkmark was originally used to show the authenticity of a business.
The never ending battle for best social media platform continues. Each social media platform continues to try and one up each other and Facebook’s latest move is no different. Facebook now offers the ability for you to verify your local Facebook page similar to Google My Business. Facebook claims that verified pages show up more in Facebook search results.
Luckily, it is a quick process to get your Facebook page verified. Follow the steps below to start ranking better in Facebook search results.
Step 1: Select settings in the upper right hand corner of the page you are verifying.
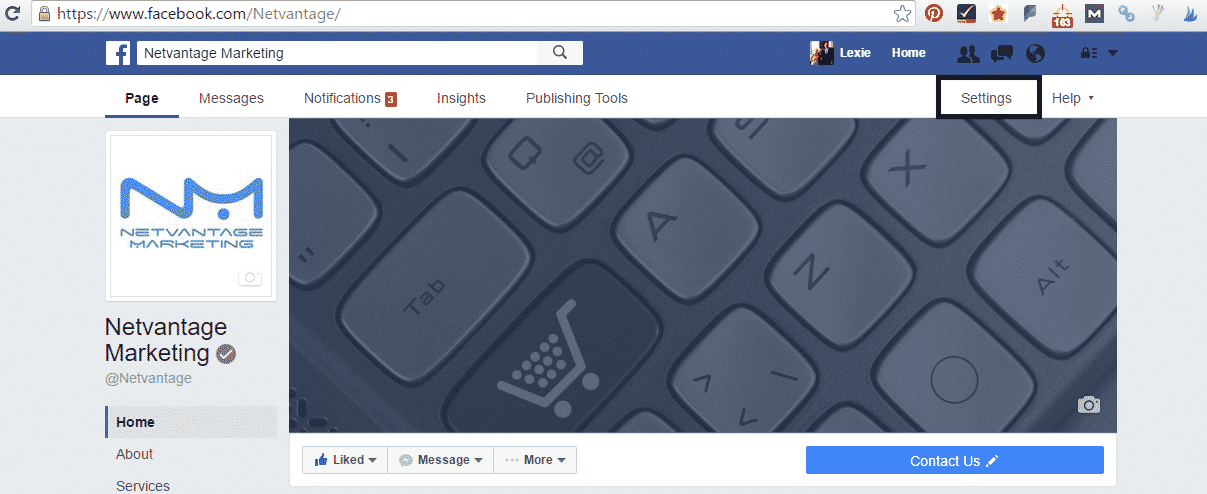
Step 2: Click on edit for the Page Verification.

Step 3: Click ‘Verify This Page.’
Step 4: Select ‘Get Started.’
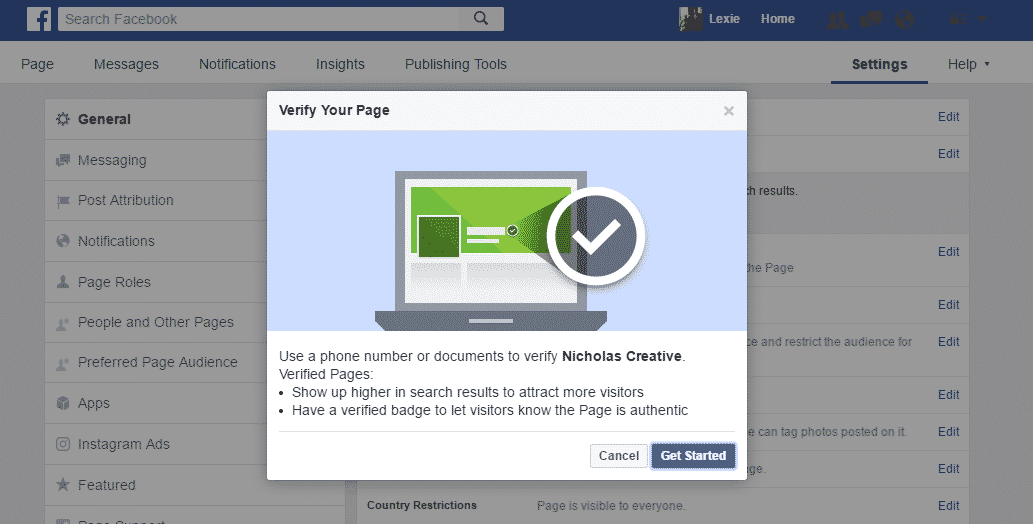
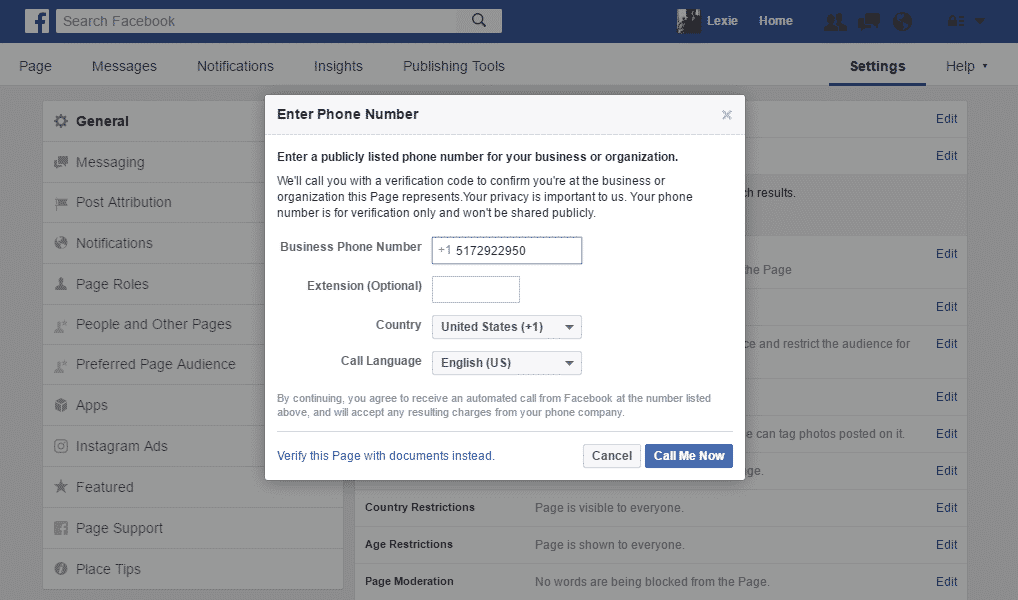
Step 5: Enter a phone number.
Note: This does not have to be your businesses phone number! In fact, it might be easier to use a cell phone number. — Update: It appears that verification via a cell phone number is no longer possible if Facebook does not recognize the cell phone number as being associated with the business page being verified.
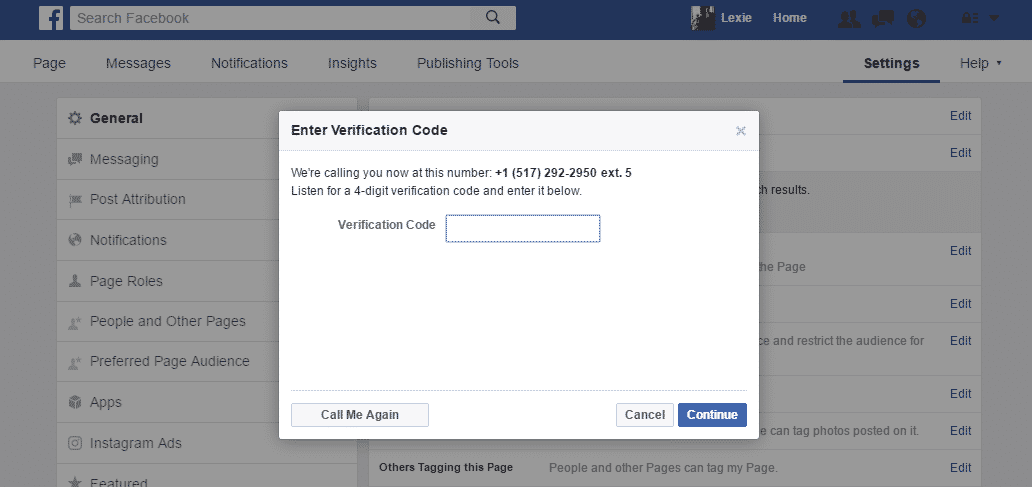
Step 6: Enter 4 digit verification code.
Note: The recording starts to play as soon as the phone is picked up so be prepared!
If that doesn’t work…
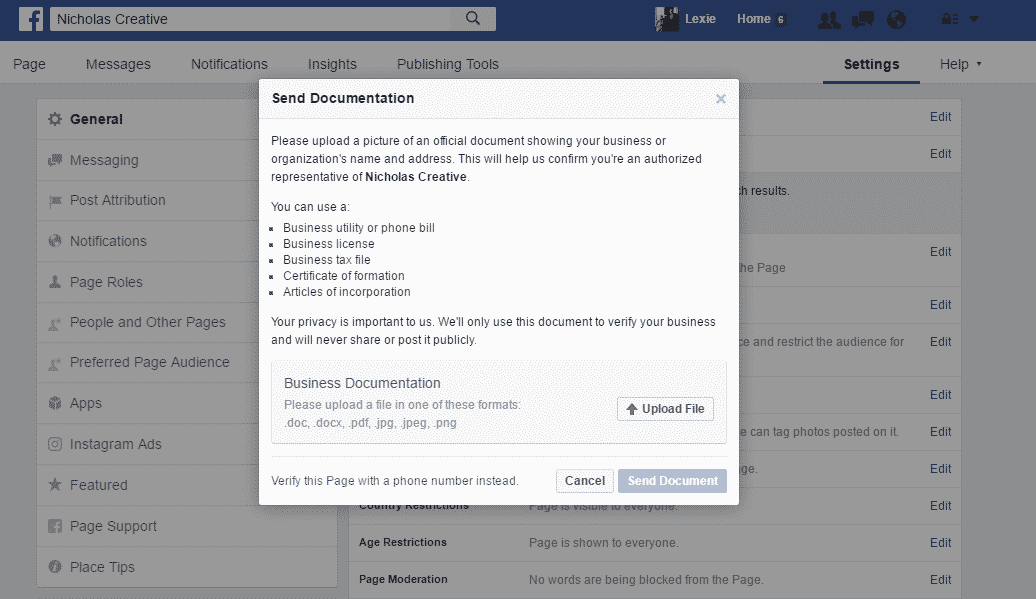
Step 7: Verify using alternative documentation.
Facebook allows you to verify using a business utility or phone bill, license, tax file, etc.
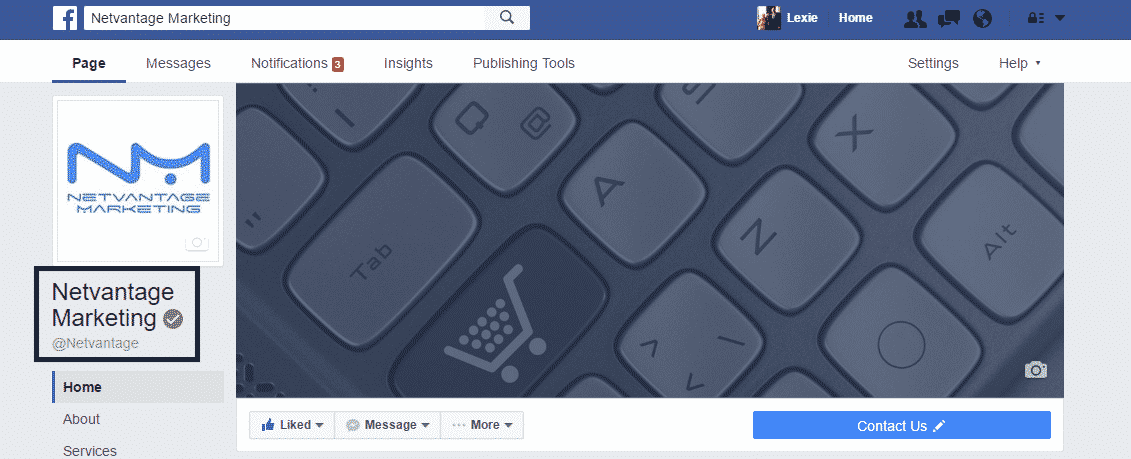
Step 8: Double check that your page is verified. Verified pages have the gray check-mark like the one below.

Leave a Reply