Last Updated on April 20, 2022 by Mike
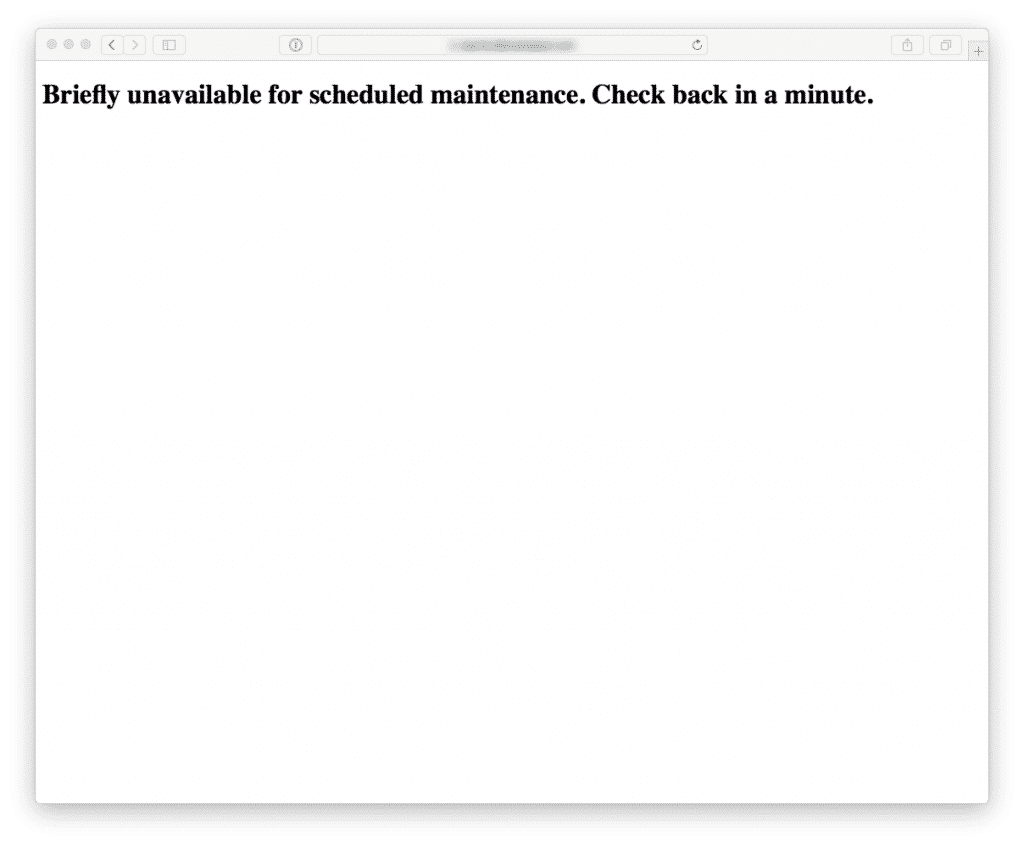
When you are using the WordPress built-in update feature to load the newest versions of your WP Core, plugins, and themes, WordPress automatically sets a “maintenance mode” which shows this hideous page to any website visitors:

The people at WordPress are some pretty smart folks so why they’ve left this atrocity for so many years in an otherwise delightful platform is beyond me. Fortunately, they’ve given us a way to make our own slightly less abhorrent maintenance page.
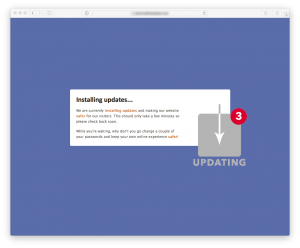
Quick side note, we’ll be covering a bit of code in this post. I’ve got a ZIP of all my files that you can download here if you want to follow along. What I’ve slap-dashed together should ultimately make your maintenance page look like this:
 Don’t laugh…I’m terrible at design.
Sometimes I get lucky and can make things look pretty. Most of the time I’m a two-bit hack barely able to tread water well enough to keep from drowning. Don’t laugh at my design skills – we stick to WordPress SEO services, not design after all! Just take what I’ve done and go make it much prettier.
Why do I need this?
Technically speaking, you don’t. Your WordPress installation will work just fine without this extra step. Also, updates usually only take about 30 seconds so unless you have a lot of traffic on your site, the odds are pretty slim that anyone will see the maintenance page during a normal average update cycle. However, when something goes wrong with an update and you don’t know that it went wrong…or you do know that it went wrong and you’re scrambling to fix it…having this maintenance page in place is awfully nice.
Forcing Maintenance Mode
Forcing maintenance mode in WordPress is simple a putting a file called .maintenance in the same folder as your wp-config.php file. Notice that there’s a dot (period) to start the maintenance file. That’s important. The contents of your maintenance file should be:
<?php $upgrading = time(); ?>
This will force WordPress into maintenance mode until you delete the file. (…so don’t forget to delete the file when you’re done.)
NOTE: If you’re following along with my example files, I’ve named this one remove_these_words_and_leave_only_the_.maintenance. Most operating systems hide files that start with a dot so I’m trying to avert all kinds of questions. Just remove that whole beginning portion and leave the .maintenance at the end.
Only One More File Needed
The only other file you need to know about is called maintenance.php and should be saved in your /wp-content directory. My example maintenance.php file is included in the ZIP file I mentioned earlier. Go ahead and download that so you can have a look.
That file is just basic PHP and HTML. The only two things you need to include are, at the very beginning:
<?php

/* Tell search engines that the site is temporarily unavilable */

$protocol = $_SERVER["SERVER_PROTOCOL"];

if ( 'HTTP/1.1' != $protocol && 'HTTP/1.0' != $protocol ) $protocol = 'HTTP/1.0';

header( "$protocol 503 Service Unavailable", true, 503 );

header( 'Content-Type: text/html; charset=utf-8' );

header( 'Retry-After: 600' );

?>
…which tells any servers or crawlers that the site is only temporarily down and that they should come back in 10 minutes. …and at the very end:
<?php

/* This passes control back to the wordpress upgrade routine */

die();

/* Don't change this */

?>
…which, as the comments say, gives WordPress back the reins. Everything in between those two bits of code is simple HTML and CSS that draws the maintenance page to the screen.
I do have one additional image file included in the ZIP and that’s only as part of the HTML display page.
Were you expecting more?
That’s it. That’s all I’ve got. All you need to do it put the maintenance.php file (and any image file(s)) in place and it works. You can test it with the .maintenance file like I mentioned. Just don’t forget to delete it or your website will be inaccessible.
Holler if you have questions.
Otherwise, I’m out. Good luck!

Leave a Reply